How To Best Fill Your Skip Bin
Want to get the most from your skip bin? Filling your skip bin correctly not only ensures the load is stable but also enables you to get in as much as possible without exceeding the maximum capacity of the bin.
Using our simple, six-step skip bin filling schedule ensures your bin is filled safely and that you optimise the available space.
1. Prepare Your Waste
Rather than throwing everything into the skip in a disorganised fashion, take some time to sort the waste. Have separate piles for flat items, items that can be closely stacked (such as bricks, books or tiles), large and/or awkwardly shaped objects, heavy objects and smaller pieces of waste.
If possible, see if you can regulate the size of awkwardly shaped items to make them easier to pack into the skip – putting an awkwardly shaped item in a box and filling the gaps with smaller waste items, for example, can help reduce wasted space in the skip. Rectangular items are usually the easiest to pack in a space-saving manner.
Ensure that all the items are suitable for disposal in a skip – if you’re not sure if an item is appropriate, give us a call.
Break up larger pieces of waste if possible – the smaller the waste, the easier it is to pack together closely, reducing wasted space.
Place items close to the skip to make the filling process as fast and hassle-free as possible.
2. Start With the Flat Items
Flat items should go in first. They line the bottom of the skip and provide a level, stable base on which to put the next pieces of waste. Suitable flat items include cardboard and radiators.
3. Put Compressible Materials in Next
If you want to optimise space in your skip, after the flat items, add compressible, lightweight items. These might include clothing, soft furnishings, old toys, fragile furniture, upholstered items or general household waste. When you add heavier items, they will compress the softer items, creating more space.
4. Place Heavy Items Towards the Bottom of the Skip
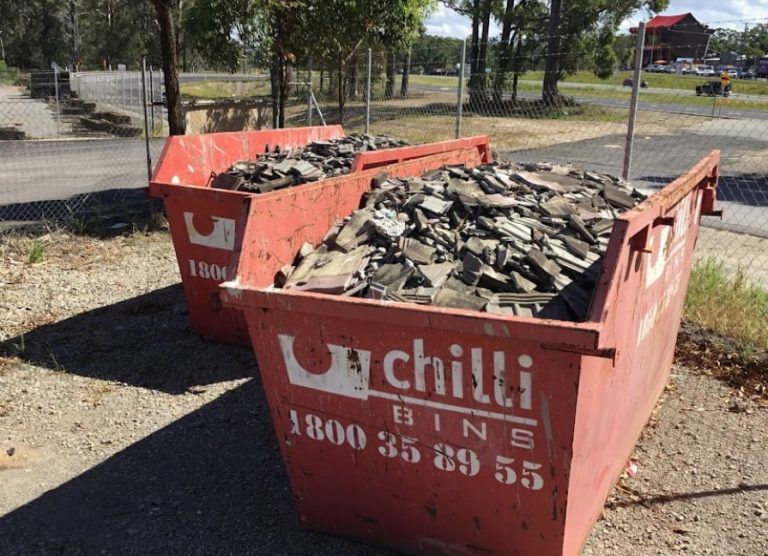
Heavier items need to be deep in the body of the skip if possible. They’re most stable near the bottom. As well as heavier items, it also makes sense to place stackable items near the bottom of the skip – bricks and tiles are good examples of materials that can be stacked. These provide a stable, flat surface for the next layers of rubbish, at the same time ensuring that weight is distributed at the base of the skip.
5. Add Awkwardly Shaped Items
If you’re not able to reduce the size of larger items, put those on top of the heavy, stackable items. These might include items of furniture, or debris from a DIY project (such as old sanitaryware, plaster or discarded carpet).
6. Fill in the Gaps
The final step to filling a skip bin is to add the smaller pieces of waste. These will trickle down between the larger pieces and fill up the gaps. You may need to fill the gaps in stages, perhaps adding smaller pieces of waste to flatten out the skip contents before adding a larger item.
Special Considerations
Sheets of glass should be stood up against the walls of the skip and kept in one piece if possible.
If space is short, prioritise your waste to ensure that the items which are hardest to dispose of through other means enter the skip first.
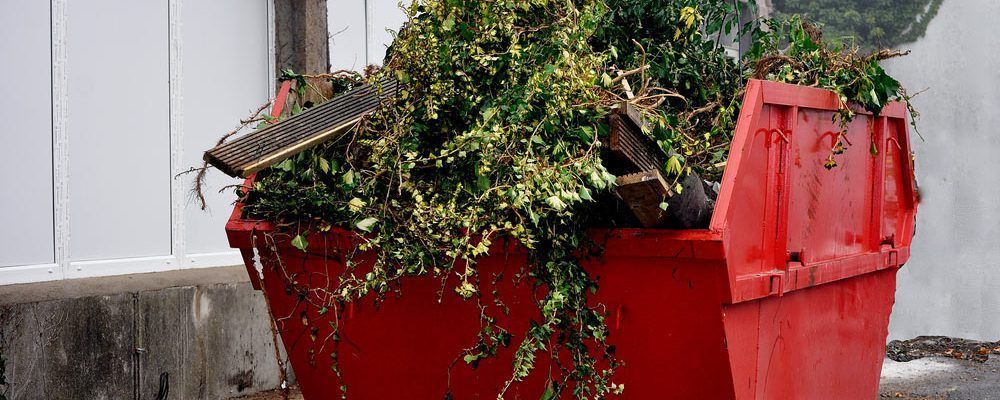
Don’t overfill the skip! Overfilling destabilises the skip and means it can’t be transported safely. If you’re not sure what size of skip to hire, we are happy to advise.
For further top tips on getting the most from your skip bin, contact the experts at Chilli Bins.
